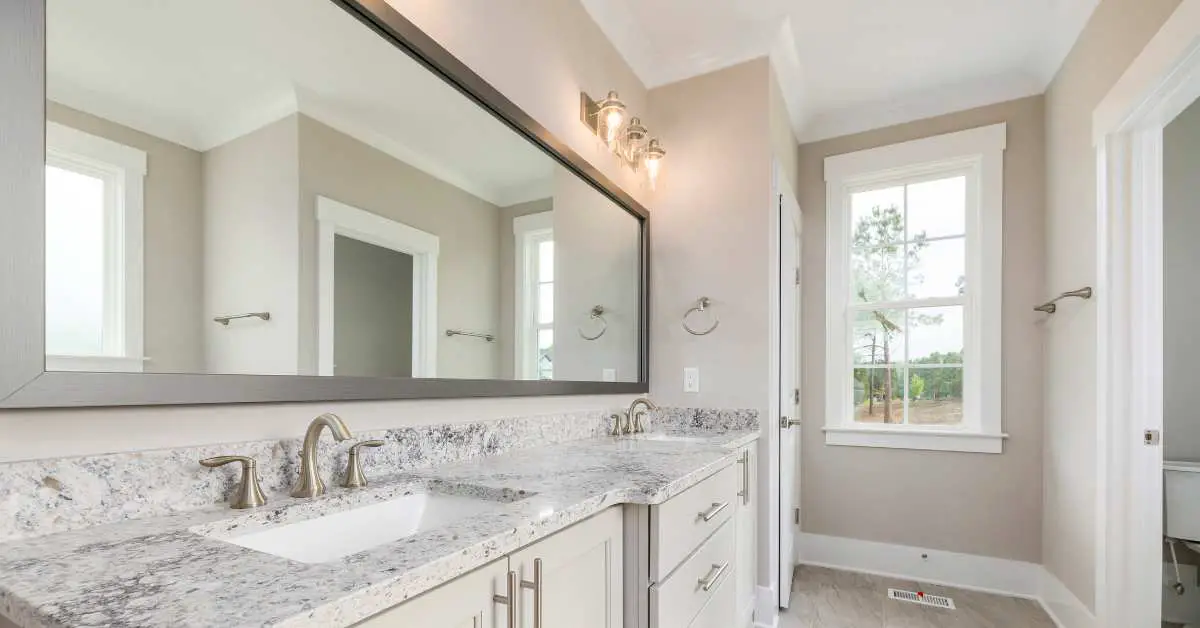
Crown molding embellishes frames around windows, ceilings, and doors to add a texture of luxury to your bathroom. It is usually installed around the roof to hide the seams between the top of a wall and the ceiling.
Can You Put Crown Molding in a Bathroom? You can put crown molding in the bathroom because it covers the cracks and irregularities, is affordable, add value to the property, comes in different sizes and shapes, and adds beauty and style. You can install this by measuring the total area and then cutting the molding with a miter saw, placing those pieces on the wall and ceiling, and applying the primer and paint.
Many interior designers are using the idea of the molding in bathrooms to provide a traditional touch.
Why would you put crown molding in your bathroom?
The use of molding has become famous because of its use in every room of your house and now even in bathrooms depending on the height of the ceiling.
Covers the cracks and irregularities
It hides the imperfections and creates a powerful transition by covering the gaps between the top of the wall and the ceiling. As a result, cracks can appear in older homes with time and blotches along the walls, especially the corners.
You can install any ornamental molding around the room’s ceiling to cover these cracks and prevent the blotches.
The process is flexible, as you can use any material to balance the irregularities in the ceiling and paint on your walls.
You can fill the gaps or crack using a gap-filling glue and then paint the ceiling boundary with the same color again.
Affordable and add value to the property
It is affordable compared to wood molding, as medium-density fiberboard (MDF) molding ranges from $1-$7 per linear foot, whereas solid wood ranges from $6-$45 per linear foot. In addition, it is easy to install and saves you money if you install it yourself.
It adds value to your property by giving a unique classy appearance. In addition, you can renovate your place by installing it instead of changing the whole ceiling if it gets some cracks.
This can be a great investment because it embellishes the overall look of your house and increases its market value to any buyer at the time of selling.
Different sizes and shapes
It comes in various designs and sizes depending on the ceiling height and size. You can also get a simple white color molding with a unique design and paint it with any color that matches your walls and furniture.
You can choose fewer wider strips if your bathroom is small and the ceiling is not high because wide designs can make it look oversize for your place.
It is not a must to style all the rooms in a similar manner. Different designs and sizes are available, and you can opt for any design you want to establish in your place.
Adds beauty and style
Crown molding is not a new trend, as people have used it in their houses for a long time to add an elegant texture.
It shows your impressive taste in the decoration of your place with a great finishing of the ceiling.
It can make your ceiling look high and enhance the interior design, which shows that you care about appearance.
In addition, it makes the top of your ceiling flawless and beautiful by transforming it into a new look.
It adds an extra spark and a more mature look to your place and makes it ideal for an open space feel with a high ceiling.
How do you install crown molding in your bathroom?
You can install it yourself, and you will need, crown molding, a miter saw, a nail gun, caulk, nails, and measuring tape for this process.
First, measure the total linear length of the walls and use approximately 20-25% more molding than the estimated value to avoid a shortage at the last moment.
You can use a power miter saw to cut the precise pieces by positioning it upside down on the miter saw table at an angle of 45 degrees.
However, the cutting process of the top and bottom edges can be tricky. Therefore, it is better to practice on extra pieces before cutting the actual size.
All the inside corner pieces are 45-degree concave angles facing inward, and outside corner pieces are 45-degree convex angles facing outward.
Therefore, for the left side of the inside corner, the miter saw rotates 45 degrees right, and for the right side, it will rotate 45 degrees left.
You can repeat the same process to cut the left and right sides of outward corners. You can stitch or glue two straight pieces called scarf joints if the length of the molding seems short to reach the full area of the ceiling.
You can apply the primer or paint before installation and dry it for approximately 22-26 hours.
Mark the positions on the boundary of the wall and ceiling around 2-3 inches below it to guide you when you are nailing the molding pieces.
Turn the molding upright and install it at 45 degrees to the wall and ceiling, depending on the molding you are installing. To avoid mislocations, nail it to the wall and top of the wall securely.
You can fill the gaps between the ceiling and walls with caulk to make it even and let it dry as the instruction label advise.
You can paint it when the caulk is dry with any color that matches your bathtub, vanity, or furniture.
Types of crown molding in bathroom
Different types of crown molding for bathrooms depend on the area you want to install, such as the shower or vanity area.
It is better to use moisture-resistant product because it is the most humid and moist place in your house.
Polyvinyl chloride (PVC) crown molding is a good choice as it is moisture-resistant and can withstand high humidity, especially in shower areas. In addition, it is durable, stylish, and rot-resistant and does not allow warping and cracking.
Polyurethane crown molding is also used in the bathroom as it is plastic and a good rot-resistant.
You can install polystyrene and plaster moldings like styrofoam, which are easy to cut and shape but less durable than others and susceptible to cracks.
Medium-density fiberboard (MDF) is also a good option because it is made of wood fiber, wax, and resin and is less expensive than solid wood.
It is better not to use this in your shower area because it is not good moisture-resistant. You can use solid wood molding with a highlight-quality stain and paint to avoid damage due to humidity and moisture.
Things to consider when adding crown molding in the bathroom
Always use moisture-resistant crown molding to avoid the risk of damage and cracking because moisture can affect it significantly.
It is better to avoid wood molding in your shower area because humidity can make the wood warp and twist.
A ceiling height of 6-7 feet is low for installing this because it can make your space look small and interfere with the door frame.
However, the standard height of the bathroom ceiling can be 8-9 feet, as its thickness significantly depends on it.
You can seal it with a good sealant or use a high-quality stain and primer to apply on its surface to avoid any damage in the damp atmosphere.
Related Articles: