Shut off valves are located under the sinks to control the water supply in the respective fixtures. Turn off the water supply without interrupting the main water supply of your home.
How to Fix a Leaky Shut Off Valve Under Bathroom Sink? You can fix a leaky shut-off valve under the bathroom sink by tightening the stem and packing nut, and cleaning or replacing the washer seals. In addition, you can also use plumber tape to seal it and prevent water from dripping.
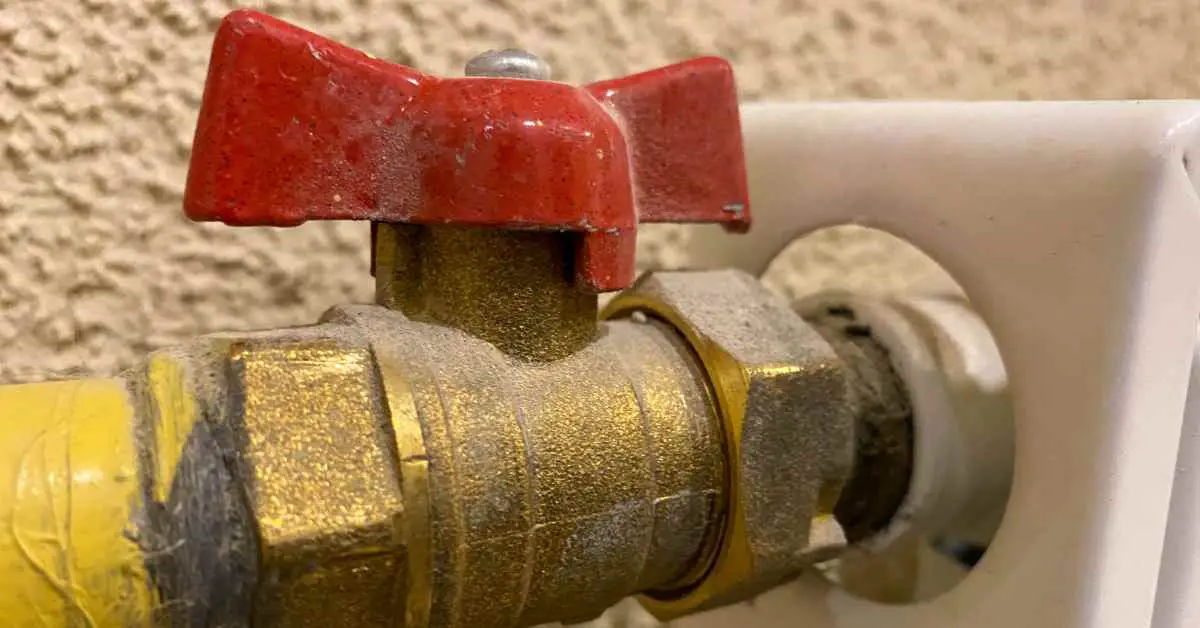
These contain valve stem, packing nut, and washer seals to control the water supply. New shut-off valves do not commonly leak because of their tightened nuts and bolts. The issue comes when these become old, and these can last for about more than 15 years.
What causes leakage of the shut-off valve under the bathroom sink?
Leakages of shut off valves are rare; these are the small fixtures that last longer. These can last for years without getting damaged and causing water dripping.
You can control the water supply of the bathroom sink by using these valves instead of accessing the main supply valve of your home.
The leakages in these parts come because of their less frequent use. People do not open and close them during their routine use.
The handle remains open for a long time to supply water to the fixtures. The washer seal is present on these structures to control the supply.
The washer that is located inside the valve becomes hard and stiff. The hard and stiffer washers can break and cannot control the supply.
You can feel the water dripping sound during the night, and your floor becomes flooded when you wake up.
Moreover, the leaking issue also comes because of the buildup of mineral residues on washers. As a result, the stem portion cannot align properly over the washers when you turn them on, which causes water to drip.
How do you fix a leaky shut off valve under the bathroom sink?
You can use various methods to fix the leaky shut-off valves of your bathroom sink and control the humidity inside the interior.
Tighten stem and packing nut
Many people get confused after seeing the water dripping through valves. However, it is not a complicated problem; you do not need to invest money to resolve it.
You can fix it without replacing the complete valves located under your fixture. Instead, the issue comes when you shut off the handle and turn it on.
Water starts dripping on your floor as droplets, makings them wet. The stem is present near the handle of these valves to control the water supply.
Sometimes these become loose, and water comes from these loose, poorly connected joints. Tighten the stem joints to resolve the leaking problem.
Use the crescent wrench that is usually available in homes, and you can also purchase them from the market because these are not costly.
Wrap the tape around these nuts so it cannot produce dents and cracks on the stem portion of the valves. In addition, it can also damage the chrome material of this part when you move the wrench in a clockwise direction.
Grasp the stem portion and tighten it by moving it clockwise. Move it about one or quarter an inch to prevent overtightening.
Stem valves pass through the packing nut to provide the water seal. Packing nuts also become loose when you do not turn the handle to turn and off these fixtures for a longer time.
You can use the simple wrench in your home to tighten the packing nut. Cover the ends of the wrench with a cloth to prevent the nuts from scratching and damage.
You can tighten the stem and packing nut within 2 to 3 minutes.
Clean or replace washers
The washer is a rubber disc-like material that is located inside the shut off valve to provide a watertight seal. People face water dripping issues because of wear and tear in washer discs.
It happens when you do not open and close them for longer, and minerals accumulate on these washers. Clean the washers if they are not cracked or warped and only mineral residues are on them.
Turn off the water supply and remove and dismantle the connected pipes.
Put the bucket under the sink to collect water present in the pipes. Next, use the screw wrench to open the nuts of the valve handle.
Remove the wall handle, valve stem, and packing nut to locate the washers. Take out the washer and scrub its surface with an old toothbrush.
Remove the washer and add the new ones if these are broken. Purchase new washers from the market that are the same size as the previous ones.
Reassemble the parts and connect the water supply to check the leakages. You require only 20 to 30 minutes to replace the washers with new ones. These are available for $15 to $20, depending on their brand and quality.
Plumber tape
You can fix the leakages in the shut off valve using the plumber’s tape, but it is only a temporary solution. Plumber tape only protects the water from dripping on the floor.
It does not repair any damaged or loose parts and repairs them permanently.
You can wrap them with plumber tape when you are waiting for the plumber. The tap protects the water from coming on the floors and creating a mess in your bathrooms.
It is also necessary to check the screws of the handles and ensure that these are tight. Inspect the connecting pipes because sometimes water comes from the cracked and broken pipes instead of bad shut-off valves.
What happens when you do not fix a leaky shut off valve?
It is necessary to fix leakages in the shut-off valve; otherwise, it can ruin the bathroom floors. The restrooms do not contain waterproof flooring to protect them from damage.
Some of them are porous and allow the water to penetrate inside their inner layer and cause warping of their structure. It can cause discoloration of the floor and make the area slippery.
It creates unhygienic conditions because water splashes can come on your clothes and shoes when washing your hands on sinks.
Dripping water increases the overall humidity content of the bathroom and makes the conditions unfavorable for wooden or metal cabinets and mirrors.
It can also increase your cleaning effort because you have to mope the floors frequently. However, it also increases the electricity bills when you keep the exhaust fans on to remove moisture.
It is better to replace the leaky shut-off valves when you cannot resolve the problem after tightening the stem valve and packing nut.
The replacement cost for these fixtures is $150 to $200, depending on their quality and labor cost. You can decrease the mess near the sinks and protect the floor damage by placing small buckets under them so water can come in them.
Related Articles: